Step-by-step Tutorial
Visit the official repository to download the example code and get the latest version.
What you need
- GoBadge aka Adafruit PyBadge
- Personal computer with Go 1.18/1.19 and TinyGo installed, and a serial port.
Installation
Go
If somehow you have not installed Go on your computer already, you can download it here:
Now you are ready to install TinyGo.
TinyGo
Follow the instructions here for your operating system:
https://tinygo.org/getting-started/
Connecting the GoBadge to your computer

Plug the GoBadge into your computer using a USB cable. There may be one provided in your starter kit.
Make sure that the GoBadge is on.

Running the code
The TinyGo programs will run directly on the GoBadge’s microcontroller. The procedure is basically:
- Edit your TinyGo program.
- Compile and flash it to your GoBadge.
- The program executes from the GoBadge. You can disconnect the GoBadge from your computer (plug it into a battery, if it isn’t already), the program executes directly on the microcontroller.
Let’s get started!
Code
step0.go - Built-in LED
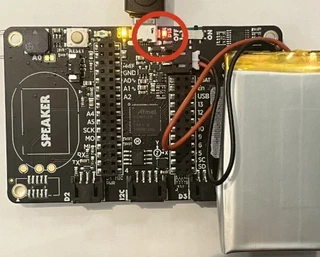
This tests that you can compile and flash your PyBadge with TinyGo code, by blinking the built-in LED (it’s on the back).
tinygo flash -target gobadge ./step0

Once the PyBadge is flashed correctly, the built-in LED labeled “D13” (on the back) should start to turn on and off once per second. Now everything is setup correctly and you are ready to continue.
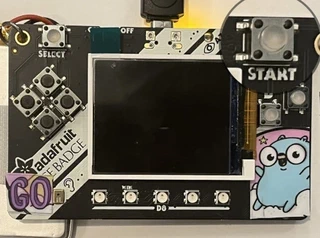
step1.go - Built-in LED, START Button
Run the code.
tinygo flash -target gobadge ./step1
When you press the START button, the built-in LED should turn on.
Challenge: See if you can modify ./step1/main.go so that the LED turns on if the SELECT button is pressed instead of the START button.
step2.go - Neopixels
Run the code.
tinygo flash -target gobadge ./step2
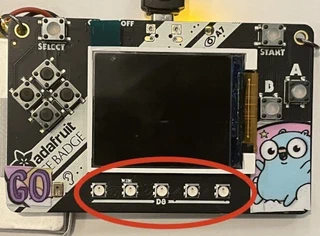
The 5 neopixels should light up green and red alternatively.
step3.go - Neopixels, Buttons
Run the code.
tinygo flash -target gobadge ./step3
The 5 neopixels should light up in different colors depending on which button you press.
What happens if you press more than one button at a time?
try out ./step3b, what does it do?
After deploying it should look like this:
step4.go - Light sensor, Neopixels
Run the code.
tinygo flash -target gobadge ./step4
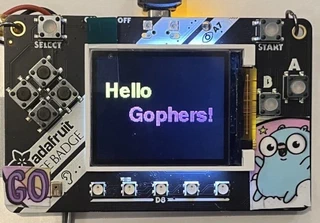
step5.go - Display
Run the code.
tinygo flash -target gobadge ./step5/main.go
The message “Hello Gophers!” should appear on the display.
step6.go - Display, Buttons
Run the code.
tinygo flash -target gobadge ./step6/main.go
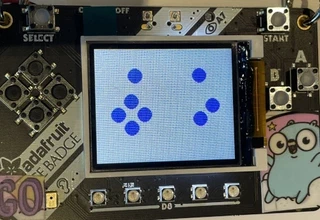
The display will show some blue circle that represent that buttons on the board. When a button is pressed a ring will be shown around its corresponding circle.
step7.go - Display, Accelerometer
Run the code.
tinygo flash -target gobadge ./step7
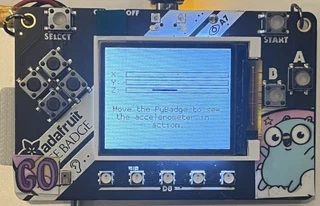
The display will show a bar for each X,Y,Z axis. Move the Pybadge to see it in action.
step8.go - Buzzer, Buttons
Run the code.
tinygo flash -target gobadge ./step8/main.go
Press the buttons and create your melody.
Good job in completing the basic tutorials. Now can check out the more complicated tutorials
Snake Game
Play the famous Snake game on the pybadge.
My Name Is
This example display you name. Use this to make a simple name badge My Name is
Configure your name and use the awesome TinyGo-powered badge!
Note:
Find the different type of fonts you can use here